- Salt Water Pool and Spa
- Salt Water Pool Systems
- Salt Water Pool Conversion
Salt Water Pool Conversion
A salt water pool conversion is a lot easier than you might think. The addition of a salt system with a natural chlorine generator will transform any existing chemical chlorine pool so you can experience soft and luxurious water. Whether you are a residential pool owner or a pool service professional we will guide you through the simple step by step process.
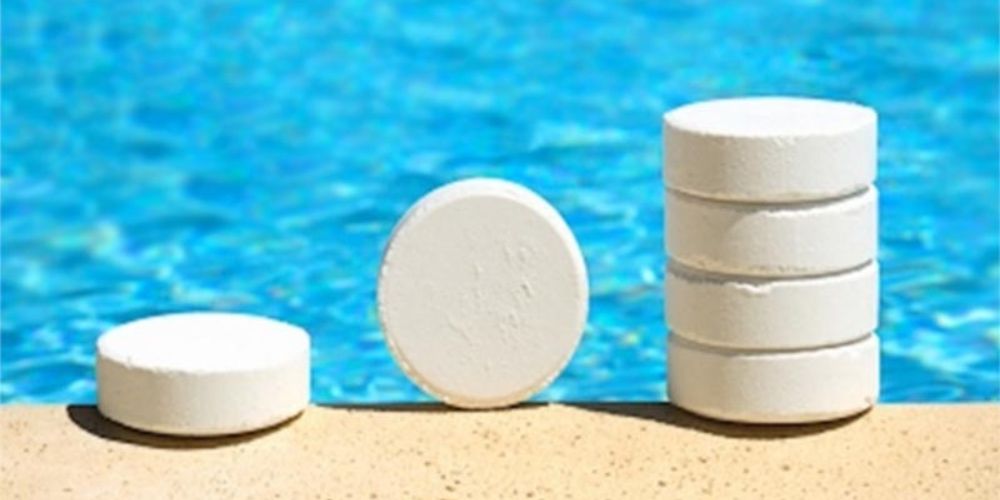
The first step when considering converting your pool to salt water is understanding how the chlorination process works. The basic principle is that instead of adding chemical chlorine pucks or powder to your pool on a daily or weekly basis, your pool will produce chlorine naturally from the salt that is in the water by breaking down the salt molecules.
The Complete Guide to Salt Water Pool MaintenanceEverything you need to know to maintain your salt water pool and keep it running smoothly all season. |
|
Salt Water Pool Conversion in 5 Steps
The salt water creates a more stable environment which means you will not only be able to create your own chlorine but you will need less chemicals and balancing. You will be decreasing your pool maintenance while being able to experience the benefits of soft and luxurious salt water. In addition, you also won’t feel the harsh side effects of chloramines that cause things like red eyes, chemical odours and the sticky feeling that can be left on your skin after a swim.
After you have purchased your salt system it's time to install it in your existing pool plumbing system. It should be installed at the end of your plumbing after the pump, filter and heater right before the return valve to your pool. This ensures that the freshly chlorinated water that has passed through the salt system and cell enters the pool directly.
The ideal setup is to run your control panel and pool pump from the same power source and timer to ensure simultaneous operation. This keeps the entire system is in sync and ensures that the pump is running during chlorination. You can print off our salt water pool installation diagram for easy reference.
If you decide on a system that requires a more complex installation you will be required to do some basic plumbing and electrical work. It's recommended that you hire a plumber or pool professional to complete the conversion if you aren’t comfortable with either of these tasks. If you want to try on your own you can follow our step by step guide on how to complete a salt water pool conversion.
- Establish Location for Installation
- Plumbing, Flow Switch and Check Valve
- Sacrificial Zinc Anode
- Control Panel and Power Supply
- Adding Salt
1. Establish Location for Installation
In most inground swimming pools you will be adding the salt system in your existing plumbing that is fitted for 1.5-2.5 inches diameter. It should be installed after the pump, filter and heater and within proximity of the power source and control panel.
If you are installing the cell in a pre-existing system you may be able to install it where the chemical chlorine dispenser was previously located. Simply remove the dispenser and replace it with the electrolytic cell because you won't need the chemical feeder any more. Keep in mind that the location should be easy to access for when you need to check and clean the cell throughout the pool season.
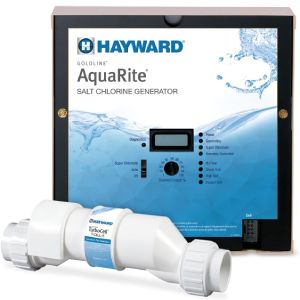
Hayward Goldline AquaRite Chlorine Generator SystemIf you click on this link and make a purchase, we may earn a commission. |
2. Plumbing, Flow Switch and Check Valve
It might be necessary to use elbows or couplings to ensure that water runs with the least amount of resistance to the cell and into your pool. Try to minimize sharp angles or obstructions as this will cause unnecessary back pressure on your system and increased work for your pump.
If the cell is one directional, ensure that the flow direction is followed before final gluing and installation. The flow switch should then be installed right after the cell in the plumbing system as per the manufacturers instructions. There should be directional arrows either on the switch device itself or the PVC casing that it screws into.
It's a good idea to install a check valve before the cell or after the filter or heater if you have one. This will prevent highly chlorinated water and chemicals from back flowing into the heater or filter.
3. Sacrificial Zinc Anode
If you are concerned about corrosion of your pool hardware we recommend installing an in-line zinc anode which is relatively easy to install. The most convenient time to install an in-line anode is during the conversion when you are working with the plumbing. The anode requires grounding and it's a good idea to keep it close to your cell for convenience purposes.
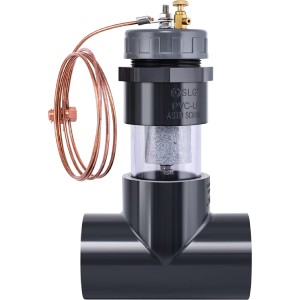
Inline Sacrificial Zinc Anode for Salt Water Pool SystemsIf you click on this link and make a purchase, we may earn a commission. |
4. Control Panel and Power Supply
After the cell, flow switch and check valve are installed and the main power is turned off it's time to mount the control panel and power supply in an area with easy access. This needs to be within reach of the cell cord, switch and timer if necessary.
The last step is to connect and turn on the main power supply. We recommend calling an electrician or professional if you aren't familiar with working with electricity as this step can be dangerous. After everything is installed, turn your pool water pump on, wait for the system to pressurize and check for any leaks in the plumbing. Do not turn the power on to the cell or the salt system control panel until you have achieved the desired salinity for your unit.
5. Adding Salt
The next step in completing your salt water pool conversion is to add the appropriate amount of salt based on the current salinity of your pool water and gallonage of your pool. Use the the formula below to calculate your pool volume and the salt calculation table on our pool salt page to determine the correct amount of salt to add.
If you are converting from a regular pool or from fresh water, the salt content of your pool water should be nil or zero. A rough estimate is to add approximately 30 lbs of salt for every 1000 gallons of water in your pool. The manual you receive with your salt water system will also explain this in detail.
If you are adding a salt system to a new pool construction it's very important that you allow at least 30 days for a plaster pool to cure and seal. You should also wait at least 10 days for vinyl liners to prevent any corrosion or break down or as per the manufacturer.
After you have figured out how much salt to add to your pool add the salt to the deep end of your pool and away from the skimmer intake. The undissolved salt tends to collect on the bottom of the pool and a brush might be necessary to aid in circulation. Wait at least 24 hours to ensure all of the salt is dissolved before carrying onto the next step of your salt water pool conversion.
After the salt is dissolved and the chemistry is balanced your salt water pool conversion is complete. It’s time to turn on your new salt water system and start enjoying your pool. If you would like more information about salt system run times be sure to read our pool pump timer page.
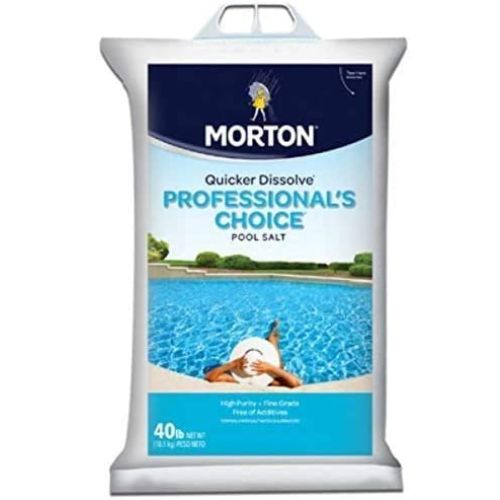
Morton Pool Salt 40 Pound BagsPool salt used by professionals that's high purity, fast dissolving and free of additives. If you click on this link and make a purchase, we may earn a commission. |
Cost to Convert a Pool to Salt Water
The cost to convert a pool to salt water will vary depending on the size of your pool and whether you hire a professional to complete the installation. There are salt water systems designed for every size of pool ranging from 5,000-100,000 gallons so you can be sure to find one that works for your specific pool.
We recommend purchasing a salt water system that is rated for pools approximately 15% larger than specified to ensure that you have adequate chlorine production during higher pool usage, increased sunlight hours and during superchlorination that reduces the need for shocking.
The price for a basic is about $300 and can be installed in as little as 30 minutes by a handy pool owner. The advanced units can cost upwards of $1,500 and include features like self diagnostics, automatic chemical feeders and a control panel that will automate all of your pool hardware. The automated pool systems are a bit more complex to install but for most pool owners the upfront cost is worth the very low maintenance down the road.
If you install the system yourself you won't need to hire a pool service company but we recommend a professional for complicated systems to ensure it is installed correctly. A pool technician will charge approximately $250-$500 to install a salt water system but this of course will vary with geographic location and the complexity of the system.
Salt needs to be added to your pool water whether it's fresh water or an existing chlorine pool. The cost for pool salt is roughly one dollar per pound with the average pool requiring 400 lbs. After the initial salting of your pool you will only need to add small amounts after heavy rain or when you add significant amounts of fresh water.
If you are unsure about how you will like the feel of salt water in your pool we recommend trying it out before your salt water pool conversion. Your current pool system will operate as usual so you don't have to alter anything other than experiencing the benefits of salt water. A salinity of 2,000 ppm is recommended to feel the effects of salt water.
Disclaimer
Please use all appropriate and proper safety precautions when attempting projects on this website. All projects are attempted at the reader's own risk.
Salt Water Pool and Spa™ participates in the Amazon Services LLC Associates Program, as an Amazon Associate we may earn a commission from qualifying purchases.
